- Ask Cara to generate a document
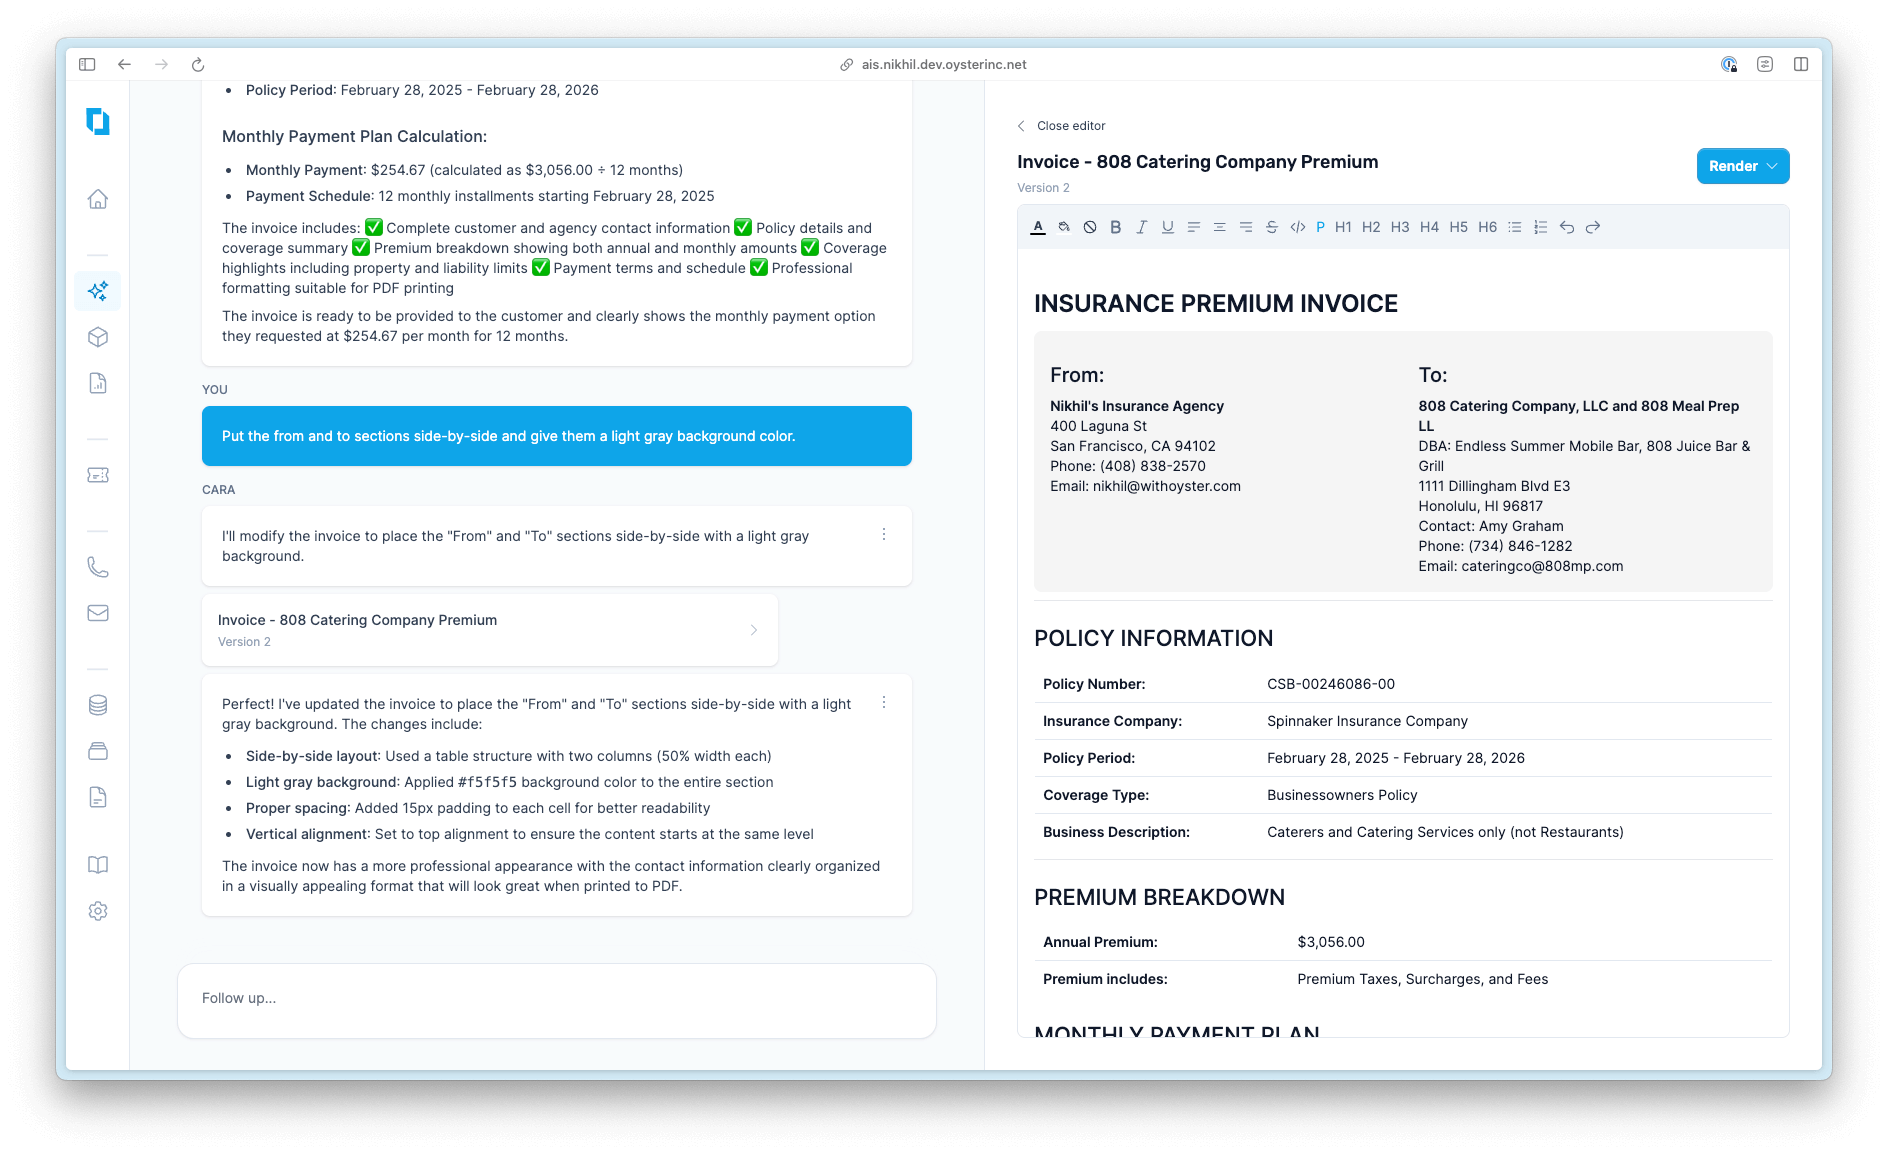
- Prompt Cara to make content or stylistic changes to the generated document
- Select built-in or custom styles to apply to the generated document
- Create custom presets to have Cara generate documents the exact same way
- Cara generates documents incrementally and much more quickly. You’ll see her progress as she writes the document instead of just the end result.
- Cara can make targeted edits when you ask her to make changes. She no longer needs to spend time regenerating the entire document unless necessary.
- Cara stores and organizes each version of the document she generated. This lets you easily go back and compare previous version of the document.
- You can make simple content and style edits yourself rather than relying solely on Cara. In many cases, if the changes are minor enough, it’s faster to make the edits yourself and generate the final PDF than wait for Cara to do them.
How it works
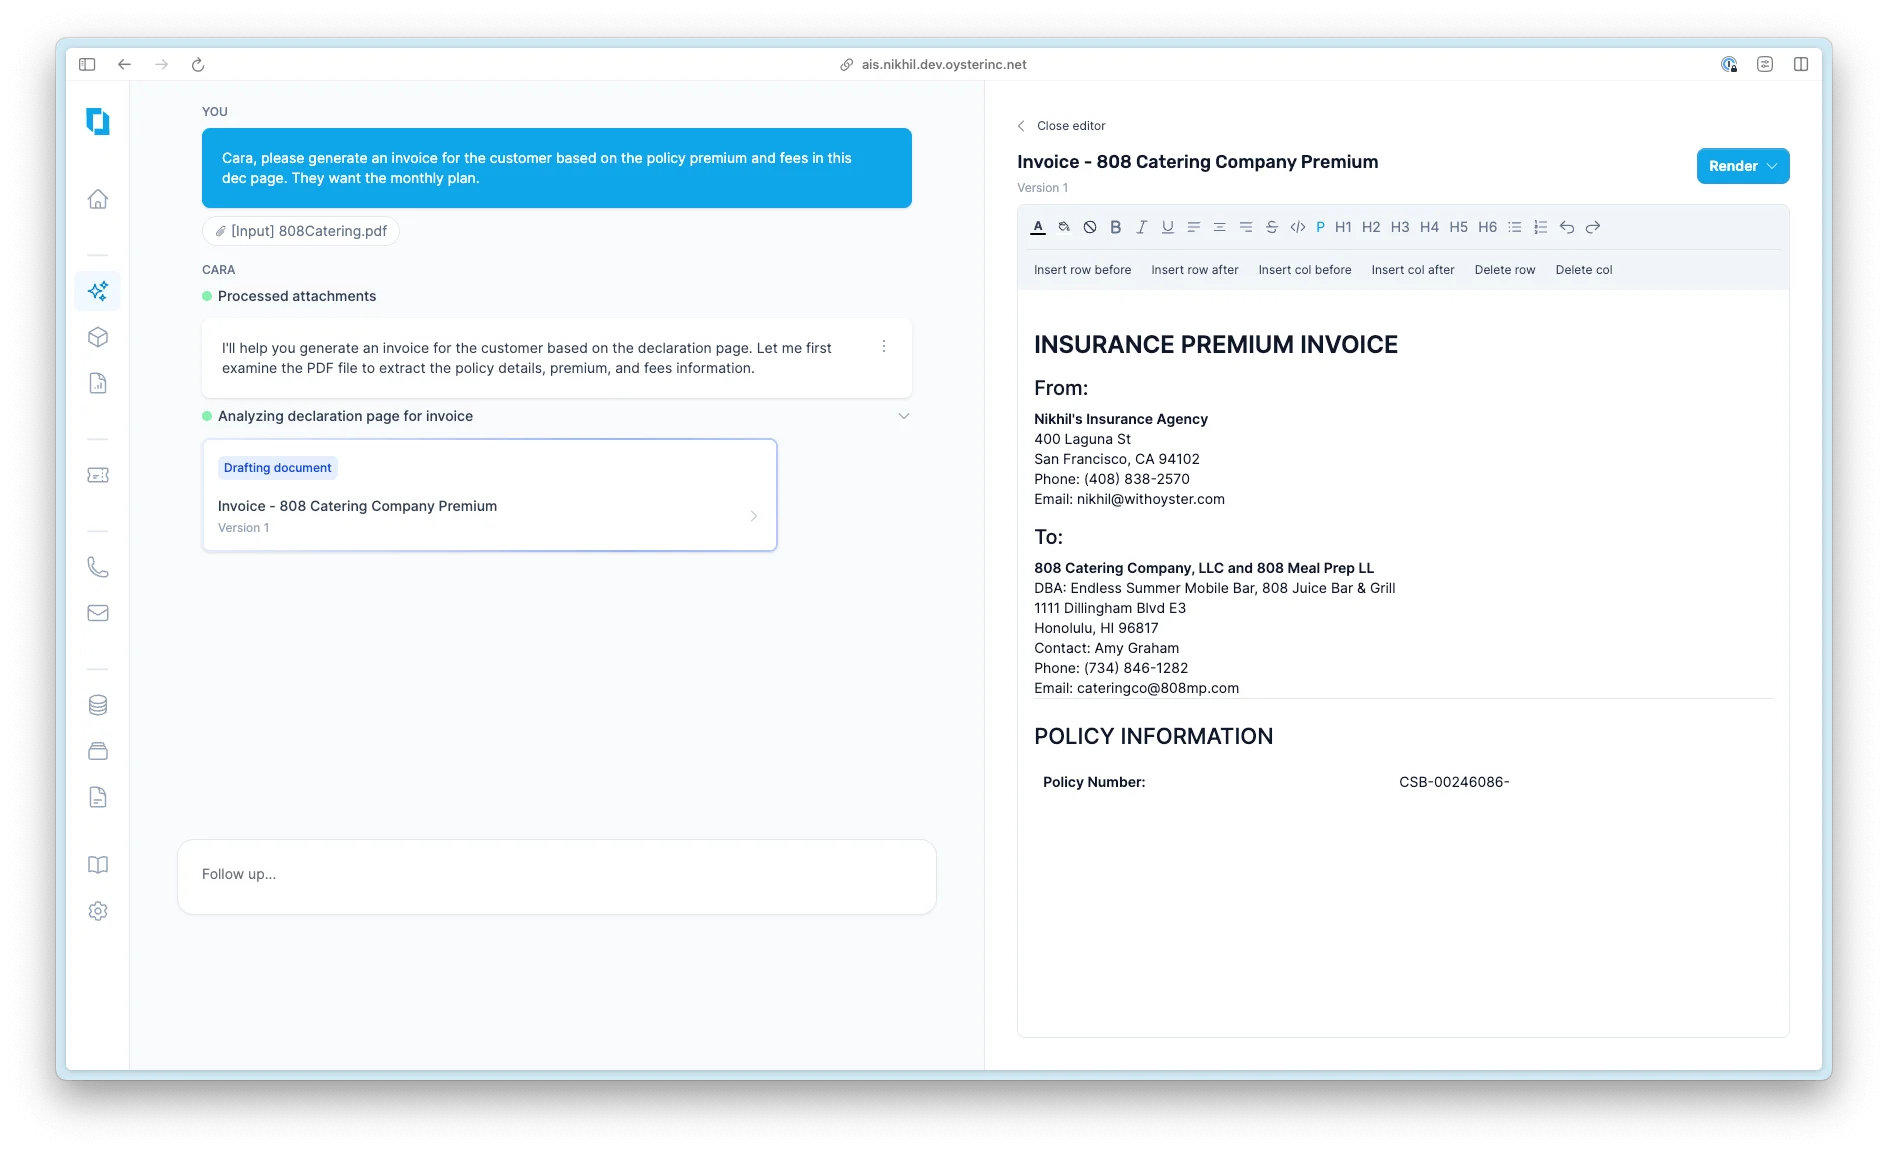
Broadly speaking, the process for generating a document with the file editor is the same as our normal document generation, and that guidance still applies. The main difference is in how the document appears while Cara generates it and the rich-text features built into the editor. Start by asking Cara to generate a document as you normally would. When Cara starts to generate the document, the UI will automatically turn into split-screen, with your Cara conversation on the left and a new rich-text editor on the right. It may take a moment for Cara to start generating the content on the right hand side.While Cara is generating the document, the editor is read-only. Once Cara completes, any changes you make in the editor will automatically save.
The final document that gets rendered may look different from the preview in the editor. This is intentional and expected. You should use the editor primarily to adjust the content and structure of the document. Then, prompt Cara to style the document as you’d like and check what it looks like by rendering the document.
Editor Features
The editor consists of two parts: the menu bar (which contains the editing controls available to you) and the document (which contains the actual content of the document).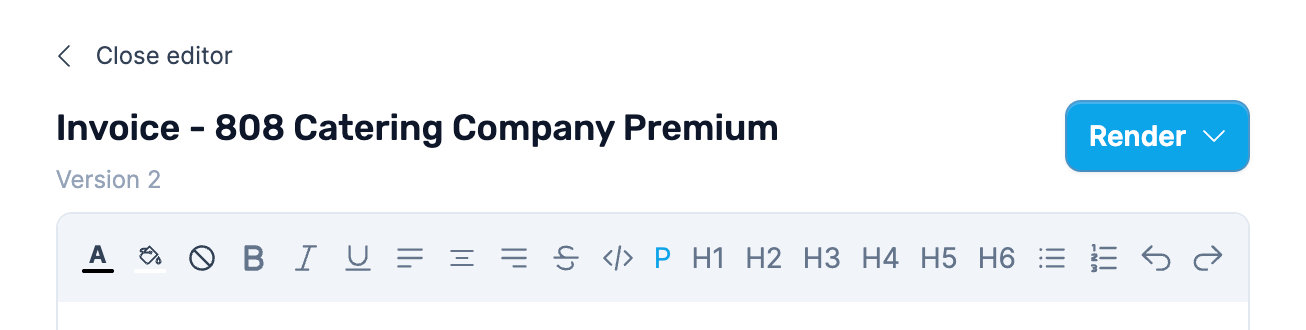
- Text color: you can highlight any text and adjust its color
- Fill or highlight color: if you have selected text, the icon changes to a paint brush and indicates that you can adjust the highlight color of the selected text. If no text is selected, the icon changes to a bucket and indicates that you can fill the background of the foreground element. For example, if your cursor is in a table cell, it will set the table cell background
- Reset fill or highlight color: the circle-with-a-line button will remove any highlight or fill you may have set in the focused element.
- Bold, italic, and underline: these controls adjust the respective appearance of any selected text. You can access this functionality with CTRL+B, CTRL+I, and CTRL+U respectively (use CMD on Mac).
- Left, center, and right alignment: these controls adjust the text alignment of any selected text
- Strikethrough: allows you to create a
strikethrougheffect on any selected text - Code block: allows you to insert code or other fixed-width text block into the document
- Paragraph: allows you to insert a paragraph into the document.
- H1-H6: allows you to create headings at the specified level.
- Bullet and number lists: allows you to insert unordered or ordered lists respectively. You can also highlight an existing list and press one of these buttons to convert from one to the other.
- Undo and Redo: you can also access this functionality with CTRL+Z and CTRL+Y respectively (use CMD on Mac).
- Insert row before: inserts a new row into the table before the currently-selected row.
- Insert row after: inserts a new row into the table after the currently-selected row.
- Insert col before: inserts a new column into the table before the currently-selected column.
- Insert col after: inserts a new column into the table after the currently-selected column.
- Delete row: deletes the currently-selected row.
- Delete col: deletes the currently-selected column.
Best practices
Keep in mind that some visual styles and elements won’t be visible in the editor. The file editor is primarily for content and minor style adjustment. It is not a preview of the final document. When working with the file editor:- Directly adjust styles, content, and phrasing in the editor when changes are fairly short and straightforward, or when Cara has mostly gotten the document right.
- Prompt Cara to make larger changes to the document, including adding new elements (tables, boxes), changing multiple elements at the same time (background color, text color), or rewriting large portions of the document.
- Always be sure to check the rendered PDF to see exactly what you’d be getting. Some styles won’t be visible in the file editor.
- You can always ask Cara to make changes that won’t show in the editor, such as adding page breaks.